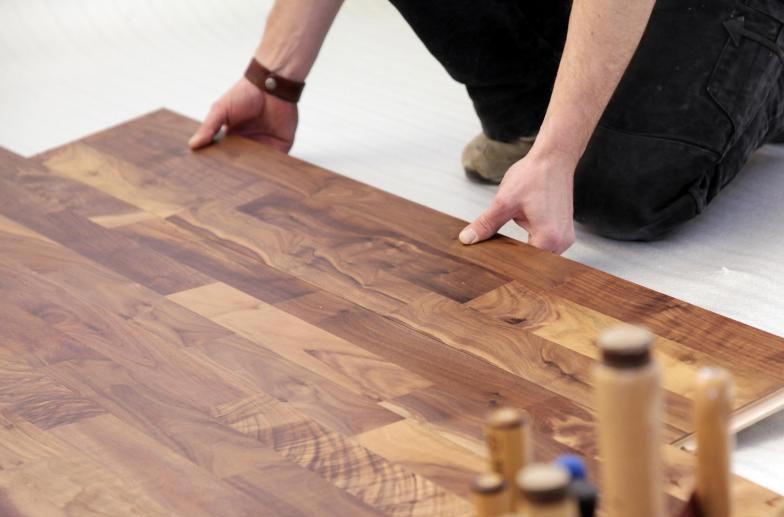
Sanding is a great way to revive the look of your kitchen floor, but the process can be messy and time-consuming.
It’s important to consider how you want to protect your appliances during the sanding process so that you don’t have to remove them from their position. This blog post will give you some tips on how to prepare for kitchen Floor Sanding Melbourne.
Do I need to remove my Fridge?
You can leave your fridge in place and cover it with a tarp. If you do this, be sure to clean up any dust that falls on the fridge. It’s also a good idea to move other items near the sink and stove to avoid damage from falling debris.
If you have time, you can remove your fridge and other heavy appliances from the kitchen. You can also move them to other rooms in your home or put them in a garage or shed for safety.
If you can’t move your fridge or other appliances, try to cover them with a large tarp. If you don’t have one on hand, use blankets and pillows instead. If possible, place the cover over the back of the appliance so that it doesn’t catch fire from falling debris.
What about the Dishwasher?
If you have a dishwasher, remove it. You can’t sand around the edges of a dishwasher and expect it to look good. Remove all the drawers from your cabinets and any other items that are under your sink or stovetop, such as garbage disposals and water heaters.
If you have a garbage disposal, remove it from the sink and put it in a safe place. You may need to buy a new disposal at this point, but if you don’t have one, now is the best time to get one installed.
Remove the faucet stems and disconnect the water lines to your sink. If you have a dishwasher, remove it from under the sink as well.

Upright Electric & Gas Stoves
If you have an upright electric or gas stove, it’s important that you remove it from the kitchen so that the flooring is not damaged.
Also, if you have an oven, microwave, sink and dishwasher in your kitchen (and who doesn’t?), please don’t forget to move them out of the way too.
Will my Kitchen Kick-boards get Damaged
You might be worried about the safety of your kick-boards. Don’t be—they’re fine. It’s not like they’re going to get sanded or anything.
If you want to protect them from scratches and scrapes, cover them with plastic sheeting before the flooring crew starts work on your kitchen floors. They’ll thank you for it! But don’t worry about the flooring underneath those kick-boards, either. It will all be taken care of during the renovation process (which is where all that sawdust comes in).
So, to recap. Kitchen floor sanding is a big job, but if you prepare well, it’s not as hard as it seems. And the results are worth all the effort—your kitchen will look brand new!
We hope this article has given you some helpful tips for preparing kitchen Floor Sanding Melbourne before getting started. If there are any questions about our process that we haven’t answered here, please don’t hesitate to let us know in the comments section below—we’d love to hear from you!
