You’ve got scuffed floors that need some TLC. Don’t worry; we’ve got your back. If you follow our tried and true process, polishing those floors so they shine like new again is doable.
We’ll walk you through a step-by-step floor polishing procedure to get those floors looking fabulous. From prepping to protecting that shine, we’ve got the 101 on making your floors look brand new.
Get ready to roll up your sleeves and dive into the nitty gritty of floor polishing Geelong perfection. You’ll be amazed at the transformation.
Just follow our lead, and those floors will be gleaming soon. Who knew bringing tired floors back to life could be so simple?
Let’s get polishing!
Assessing the Floor Type and Condition
The first step to polishing any floor is determining what flooring you have and its current condition. Is your floor made of wood, stone, vinyl, or laminate?
Each flooring material requires a different approach. Even floors of the same type can vary based on the specific material and finish.
Wood floors
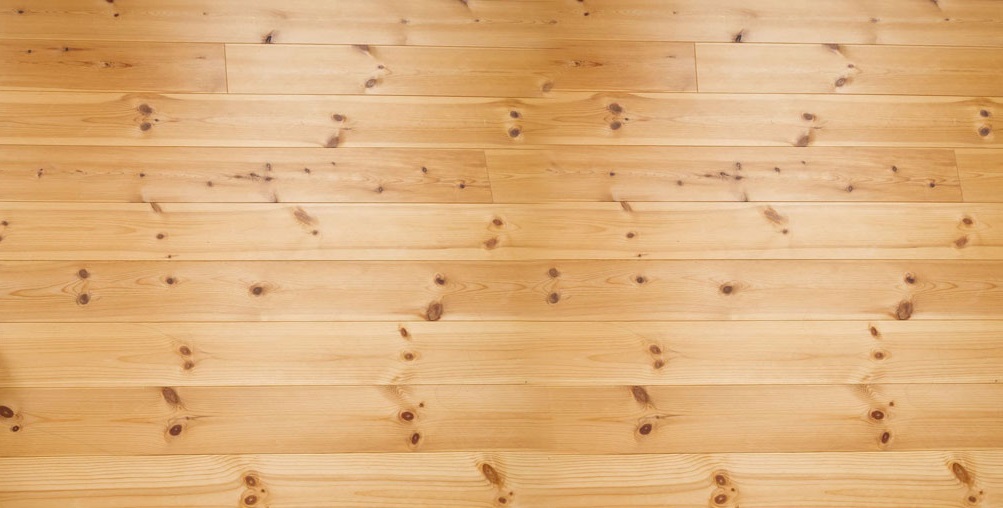
Wood floors come in varieties like oak, maple, and bamboo. Inspect your wood floor for any scratches, dents, or water damage. If the floor is worn or damaged, you may need to sand out imperfections or re-stain the wood before polishing.
Ensure the floor is clean and free of dirt or debris that could scratch the surface during polishing.
Stone floors
Stone floors include materials like marble, granite, slate, and travertine. Stone floors are durable but porous, so inspect for cracks or chips that need sealing.
Clean the floor thoroughly to remove any dirt or sealant residue. Check that the existing sealant or wax protects the surface for polished stone floors. Re-sealing or re-waxing may be required before polishing.
Vinyl and laminate floors
Vinyl and laminate floors are synthetic, so there is no wood or stone to inspect. However, the wear layer can become scratched or dulled over time.
Inspect the floor for deep scratches that need buffing before polishing the surface. Ensure the floor is completely dirt- and debris-free since these materials can scratch easily.
Once you’ve determined your floor type and condition, you can choose an appropriate polishing method and products to make your floor shine.
The key starts with a clean floor and any necessary repairs to ensure an even, glossy finish. With the proper technique and tools, you’ll have professional-looking results quickly.

Cleaning and Prepping the Floors
Before making your floors shine, you must clean and prep them. Start by sweeping, vacuuming or mopping the floor to remove any dirt or debris.
You may need to scrub the floor with a degreaser or abrasive cleaner and a scrub brush for tougher messes. Rinse the floor with water to remove any remaining residue.
Wipe Away Stains and Spills
Tackle any spots, spills or stains on the floor before polishing. For sticky spots like gum or grease, use a commercial spot remover or rub with ice to harden the mess, then chip away.
Use a plastic scraper or abrasive sponge to loosen the stain before wiping it clean with a damp rag for dried-on spills. If stains remain, treat them with a stain remover designed for floors according to the directions on the product.
Fill Cracks and Imperfections
Inspect the floor for cracks, holes or imperfections and fill them with wood filler, vinyl seam sealer or concrete patch compound.
Let the filler dry as directed, then sand smooth with fine-grit sandpaper. Wipe away dust with a tack cloth to ensure an even surface for the floor polish or sealant.
Protect Surrounding Surfaces
Place painter’s tape around the room’s edges to protect baseboards and trim. Cover doorways with plastic sheeting or tarps to avoid splattering polish or sealant on adjacent floors.
Remove outlet and vent covers and cover any floor registers or grates. Cover or remove any furniture in the room.
With the proper cleaning and prep work done, your floors are ready for polishing. The key is taking the time to thoroughly clean the floors, tackle any stains or damage and protect surrounding surfaces.
Your efforts will result in a smooth finish and professional-looking shine.
Choosing the Right Polishing Equipment
The equipment you select plays a significant role in achieving a professional finish when polishing floors. A buffing or floor polishing procedure that attaches to a drill or driver will
work great for most DIYers.
Pad Material
Pads come in various materials like lambswool, microfiber, and sponge. Lambswool pads are versatile and work on most floor types. Microfiber pads are suitable for polishing hard floors like concrete, tile, and stone.
Sponge pads provide light abrasion for floors that need a little scrubbing action. For high-gloss polishes, a softer pad usually works better. A slightly abrasive pad may give you better results for floor waxes and maintenance polishes.
Ensure the polishing pad you choose is compatible with your drill or driver and the specific floor polish or wax you want to use. The product specifications will recommend a type of pad based on the level of gloss or sheen it is designed to produce.
Using an incompatible pad could damage the finish or not give you the results you expect. It is best to follow the recommendations to ensure an ideal outcome.
Additional Supplies
Beyond polishing pads, a few other supplies will come in handy for your floor polishing Geelong project. Painter’s tape can be used to protect baseboards and trim. A rubber mallet helps tap pads onto buffing adapters.
Clean rags are suitable for wiping up drips and spills. A pole adapter lets you attach pads to an extension pole for hard-to-reach areas. With the proper equipment and some elbow grease, you’ll have professional-looking floors in no time.
Buffing by Hand
Once the polish is applied, switch to a clean polishing pad and buff the floor using small circular motions. Continue buffing until the polish becomes slightly sticky, about 5 to 10 minutes.
Buff in one direction, then make another pass over the same area using small figure-eight motions. The floor should start to feel smooth and slick.
Using an Electric Polisher
If you have an electric polisher, now’s the time to use it. Attach a polishing pad and, starting at the edge of the room, move the polisher using small circular motions over the section you applied the polish.
Work slowly in overlapping passes. Check your work with a drop of water—it should sheet evenly across the floor without sticking. Continue polishing the entire floor section by section until glossy.
Removing Excess and Protecting the Finish
Use a soft, clean cloth to remove any excess polish from the floor. Once complete, avoid walking on or placing furniture on the floor for at least 2 to 3 hours to prevent damage to the fresh finish.
It’s best not to wash the floor for at least 1 week after polishing. To keep your floor shining, sweep, dust, and damp mop regularly and re-polish as needed, usually every 3 to 6 months.
With some elbow grease and the proper technique, you’ll have gleaming, polished floors to enjoy for years. The effort is well worth the results!
Buffing and Protecting the Finish
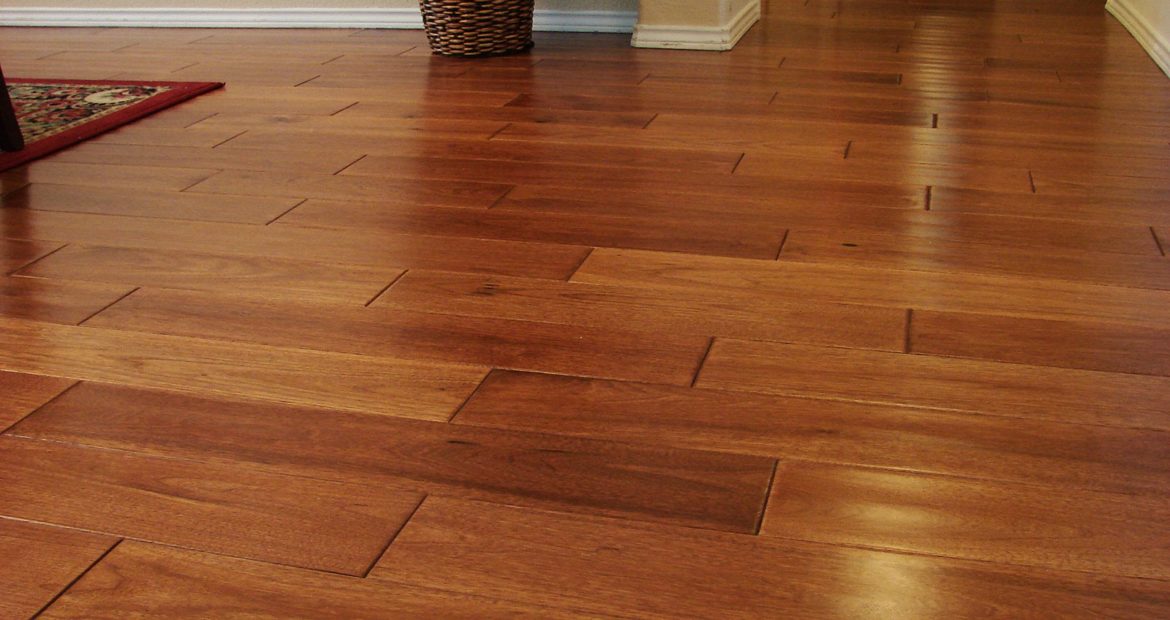
Once you’ve polished your floors to a bright shine, you’ll want to protect that finish. Applying a sealant or wax is vital to shielding the floor from damage and keeping it looking its best.
Use an electric floor buffer or polisher to polish the floor after polishing. Buffing helps even out the finish and smooth the surface.
Move the buffer slowly and steadily over the entire floor using overlapping passes. Check your work with a bright light to ensure an even, streak-free shine. For the best results, buff within 24 hours of polishing.
Choosing a Sealant
There are several options for protecting hardwood floors. A surface sealant or finish protects the floor while allowing the wood grain to shine through. Polyurethane is a popular choice as it’s durable and water-resistant.
For a matte finish, choose a sealant specifically for hardwood floors. Water-based sealants are easy to apply and have low odour and toxicity. Oil-based sealants provide the most challenging finish but have strong fumes and longer drying times.
Waxing for Extra Protection
Apply a floor wax or paste wax coat over the sealant for an additional protective barrier. Liquid wax is easy to buff, while paste wax provides a thicker coat. Apply 1-2 coats of wax, buffing in between applications.
Re-wax floors every 3-6 months or when water never beads on the surface. Waxing too frequently can result in an uneven, streaky buildup.
Protecting your floor finish will help keep your hardwood floors shining like new for years to come. With the right combination of buffing, sealants and waxes, you can achieve a durable yet attractive finish that withstands heavy traffic while highlighting the wood’s natural beauty.
So there you have it – the basic steps for polishing your floors to a brilliant shine. The most important things to remember are to prep your floors thoroughly, use the right equipment and products, and apply polish in thin layers using overlapping strokes, and for that, its best to leave it to experts.
Hence for a flawless floor polishing job that guarantees expert-level results, trust the Timber Floor Sanding Melbourne specialists. Our expertise ensures proper floor preparation, precise product selection, and professional application techniques, leaving your floors with a stunning, long-lasting shine.


