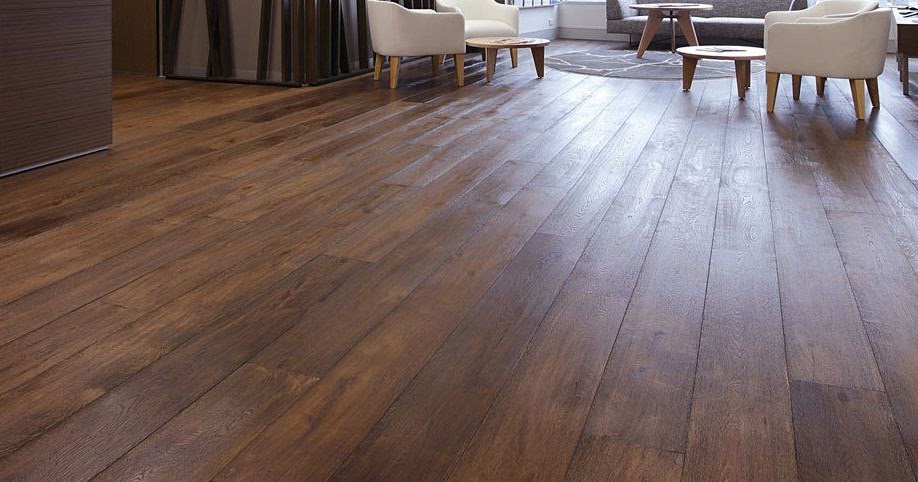
Wooden floors are a timeless and elegant addition to any home. Over time, however, these floors can become worn and lose their lustre.
If you’re considering getting wooden floors or renovating your existing ones, you may wonder what the process entails and how long it will take.
This guide will walk you through the steps of floor sanding Geelong, from when to consider resurfacing to the final touches.
By the end, you’ll have all the information you need to revitalize your floors and breathe new life into your home.
Why Resurface Your Floors?
Wooden flooring is known for its durability, but years of use can take a toll on its surface.
Factors such as harsh floor cleaners, high-heeled shoes, and exposure to moisture can cause the finish to degrade over time, leaving your floors looking cloudy and scratched.
While polishing floorboards can provide a temporary fix, deep gouges and numerous scratches may require more extensive measures.
Resurfacing your floors through floor sanding and polishing can work wonders in rejuvenating tired floors and restoring their beauty.
Preparing for Floor Sanding and Polishing
Before the sanding and polishing process begins, it’s essential to prepare the space properly. If you live in an area that needs resurfacing, remove all furniture and objects from the room.
This will give the contractors enough space to work without any hindrance. Be sure also to remove any staples and tacks that may be present on the floor.
It’s essential to provide uninterrupted access to water and electricity for the floor sanding Geelong process. If you haven’t finished painting the walls, it’s recommended to complete that task first.
However, leave the final coat off the skirting boards, as the floor sander may come into contact with them.
If it’s impossible to empty the area, cover any remaining objects with a cloth to protect them from dust generated during the sanding process.
Additionally, ensure sufficient lighting for the floor sanding and polishing service contractors to work efficiently.
Covering vents, windows, and other openings will help prevent dust from spreading to other house areas.

The Floor Sanding and Polishing Process
The floor sanding and polishing process involves several steps to achieve a smooth and polished finish. Here’s a breakdown of the process:
- Punching Down Nails: Before sanding begins, all nails are punched down below the surface of the floorboards. This ensures a smooth sanding process without any obstructions.
- Coarse Sanding: Starting with coarse grade sandpaper, a floor sander is used to sand back existing floor finishes, coats, stains, and varnish. This removes the top layer of the floor, preparing it for further sanding.
- Medium Sanding: After the initial sanding, a medium-grade sandpaper is used to buff away further prior coats and achieve a smoother surface. For hard-to-reach edges, an edge floor sander is utilized.
- Filling Holes: Any holes or gaps in the floor are filled with floor filler to ensure a seamless and level surface.
- Fine Sanding: A fine-grade sandpaper is employed to finely smooth the wooden surface and remove any excess floor filler. This step prepares the floor for the final touches.
- Staining (Optional): If you desire a new stain for your wooden floors, this is the stage where it is applied. Choose a stain that complements your desired aesthetic and enhances the natural beauty of the wood.
- Base Coat: Once the sanding is complete, a base coat is applied to seal the timber. This coat creates a protective barrier and helps extend the longevity of the finish. For the best results, allow the base coat to dry overnight.
- Additional Coats: Depending on the desired finish, additional coats may be applied. Each coat typically takes a day or two to dry, depending on the type of finish used. Waterborne polyurethane is a quick-drying option, drying within 8 hours. It is recommended to apply at least 3-4 coats for optimal results.
How Long Does Floor Sanding and Polishing Take?
The duration of the floor sanding and polishing process can vary depending on several factors, including the floor sanding and polishing cost.
These include the condition of the floor before sanding, the size of the resurfaced area, the chosen polish, and the ambient temperatures during the project.
To ensure the proper procedures are followed, and the floors are done correctly, you can expect the process to take at least a week from start to finish.
After the final coat of polish is applied, it’s crucial to allow the floors to dry for at least eight hours before walking on them. Avoid wearing hard shoes that may leave scuff marks during this time.
To ensure the surface is fully cured, it is best to wait a week before moving existing furniture back into the room.
Enlist the help of family members or movers to lift the furniture rather than dragging it, as dragging can cause damage to the newly finished floors. Additionally, avoid placing rugs on the surface until after a week to prevent indentations caused by the backing surface.
Maintaining Your Resurfaced Floors
After investing time and effort into resurfacing your floors, it’s important to maintain their beauty and longevity. Here are some tips for caring for your resurfaced floors:
- Regular Cleaning: Sweep or vacuum your floors regularly to remove dirt and debris. Avoid using harsh chemicals or abrasive cleaners that can damage the finish.
- Promptly Clean Spills: Clean up spills immediately to prevent moisture from penetrating the wood and causing damage.
- Protective Furniture Pads: Attach protective pads to the bottom of furniture legs to prevent scratches and dents when moving or rearranging furniture.
- Use Mats and Rugs: Place mats or rugs at entryways and high-traffic areas to trap dirt and prevent it from scratching the floor.
- Avoid High Heels: Discourage walking on the floors with high-heeled shoes, as they can leave marks and dents.
- Regular Maintenance: Every few years, consider applying a fresh coat of polish to maintain the beauty and protectiveness of the finish.
By following these maintenance tips, you can ensure that your resurfaced floors look stunning for years to come.
Investing in wooden floor sanding and polishing or renovating your existing ones can genuinely transform the look and feel of your home.
By understanding the floor sanding Geelong and polishing process, you can make informed decisions and ensure that the methods used achieve the desired results.
From preparing the space to the final touches, each step plays a crucial role in reviving tired floors and bringing back their natural beauty. With proper maintenance, your resurfaced floors will continue to impress for years.
So go ahead and find the best timber floor sanding and polishing near me service, and enjoy the renewed elegance and warmth that wooden floors bring to your home. Timber Floor Sanding Melbourne is your trusted partner for enhancing the natural beauty of your timber floors. With years of experience, state-of-the-art equipment, and a commitment to excellence, we provide top-notch floor sanding and refinishing service.


