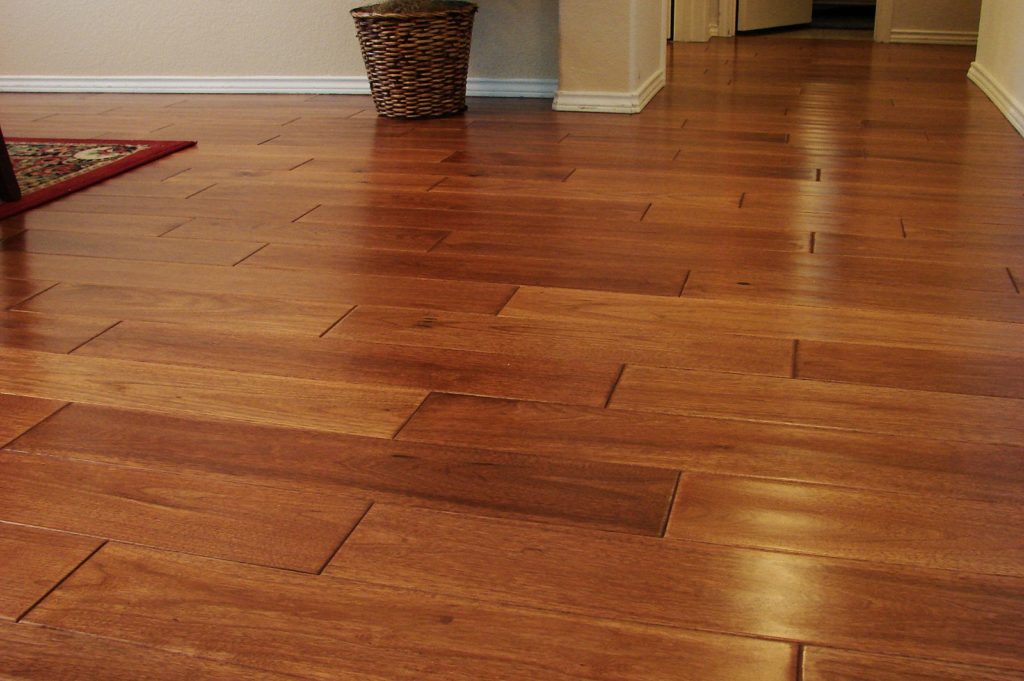
You’ve decided it’s finally time to refinish those old hardwood floors. They have character but look a little worse in terms of wear these days. Sanding and varnishing might seem intimidating, but with the proper prep work and techniques, you can make them look brand new again.
With our expert tips on staining, sealing and floor sanding Geelong you can bring new life to your floors without breaking the bank by hiring a professional. Get ready to roll up your sleeves and learn the secrets of sanding and varnishing like a pro!
Prepping Your Floors for Sanding
Clean and Vacuum Thoroughly
First, you need to clear the room and vacuum the floors thoroughly to remove dirt or debris. Use the hose or brush attachment to reach corners and edges.
Check for Any Damage
Inspect your floors closely for any water damage, deep gouges or other issues that need repair before sanding. It’s best to fix significant problems now. Otherwise, the floor sanding and varnishing process can make them worse. A wood filler product should do the trick for minor dents or scratches.
Remove Shoe Moulding and Transition Strips
Use a pry bar to remove shoe moulding, transition strips, or thresholds around the room’s edges. This allows the sanding equipment to get close to the walls and edges. You’ll reinstall them once the varnishing is done.
Apply Wood Floor Cleaner (optional)
For floors with built-up grime or wax, it’s a good idea to mop them with a wood floor cleaner or degreaser. Let it soak in as directed, then mop thoroughly with water to remove any remaining residue before sanding. This helps the sandpaper grit properly adhere to the wood.
Seal Any Open Cracks
Check for open cracks between boards or corners and apply a wood filler or caulk to seal them. This prevents dust from getting trapped during sanding and creates a smooth surface.
With the prep work done, your floors are ready for sanding. Take your time and do each step thoroughly for the best results. The effort will be worth it once you apply that first coat of varnish and see your floors transformed!
Choosing the Right Sandpaper Grits
When sanding wood floors, using the proper sandpaper grits in the correct order is critical to get smooth results. Start with a coarser grit, like 40 or 60, to quickly level the floor. Then move to progressively finer grits—80, 100, and 120. The higher the grit number, the smoother the sandpaper.
With each pass, you’ll remove the scratches from the previous grit and smooth the floor further. Finishing with 120-grit paper is fine for most floors. However, for high-traffic floors or if you want an ultra-smooth finish, keep sanding up to 150, 180, or even 220 grit. Just be careful not to overspend, which can damage the wood.
Once you’ve finished floor sanding and varnishing, wipe away dust again with a tack cloth, and you’re ready to apply your chosen finish—whether that’s wood stain, varnish, lacquer, or oil. The smooth, dust-free surface you’ve created is the perfect base for the finish to adhere to, allowing its natural beauty to shine through.
Sanding Techniques Used by the Pros
As a professional floor sander, you’ll want to have a few techniques in your arsenal to get the job done right. The pros know that preparation is critical—you need the proper grits of sandpaper, a powerful sander, and a plan of attack.
Start Coarse, End Fine
Begin with a coarser grit, around 40 to 60, to quickly level the floor. Use overlapping passes with the wood grain to remove old finish and scratches. Then, progress to mid-range grits like 80 or 100 to smooth the surface. Finish with excellent 150 or higher grit for a glassy, smooth finish before staining or sealing.
Use the Suitable Sander For the Job
A drum sander is best for large, open floors; an orbital sander can reach into corners, and detail sanders are great for edges and tight spaces. Be careful using the drum sander, which can damage the floor if misused. The pros recommend practising your technique on scrap wood first.
Pay Attention to The Details
It’s the little things that make a difference. Carefully sand edges, corners and borders for an even finish. Wipe away dust with tack cloths as you go to prevent scratches. Consider sanding diagonally for the final pass – it helps blend the grain pattern and provides the smoothest finish.
Know When to Re-send
If you notice swirl marks, uneven patches or a rough surface after staining, you may need to do some re-sanding. Start with a mid-range grit and re-sand problem areas, then the entire floor. Wipe away dust and re-stain. It’s an extra step, but it will result in a professional-looking floor you’ll love for years.
With the proper technique and a little practice, you’ll sand and refinish floors like a pro in no time. Take your time, and don’t cut corners – your patience will pay off with gorgeous results.

Applying the Finish – Tips for Stain, Polyurethane, and Lacquer
Choose your Finish Wisely
The type of finish you choose depends on the look you want and how much protection you need. Stain adds colour without a protective topcoat. Polyurethane provides a durable plastic coating. Lacquer gives a quick-drying, glossy finish. Polyurethane or lacquer are good options for floors.
Apply Thin, Even Coats
Applying multiple thin coats rather than one thick coat is critical with any finish. Thin coats dry faster, producing an even, smooth finish without drips or brush marks. For the best results, lightly sand in between coats with fine-grit sandpaper. Wipe away dust with a tack cloth.
Work With the Grain
Work with the wood grain using a high-quality brush or roller when applying the finish. Pay attention to the direction of the grain—it may change direction or swirl in some areas. Going against the grain can lead to visible brush marks. Apply the finish with the grain in even, overlapping strokes.
Allow Proper Drying Time
Respect the recommended drying time between coats. While quick-drying lacquer may only require 30-60 minutes between coats, oil-based polyurethane could need 6-8 hours. Ensure each coat is fully dry to avoid damage or imperfections in the final finish. The longer the dry time, the more complex and durable the final coat.
Apply Protective Topcoats
For high-traffic floors, apply at least two or three coats of polyurethane or lacquer. Extra coats will provide better protection for your flooring. An additional polyurethane topcoat over stained floors helps seal the stain and prevent marks or scratches. For the most demanding finish, choose a flooring product with UV protection, which helps prevent fading and sun damage.
By following these tips, you’ll achieve professional floor sanding Geelong and varnishing your hardwood floors. Take your time and be patient through the process. A quality finish can last many years, so that the extra effort will be well worth it!
So there you have it – the insider tips and tricks to get your floors to look like a pro sanded and varnished. You can tackle floor sanding and varnishing projects and save money with the right tools and techniques. But still, its recommended to leave it to experts as their service and expertise can’t be matched.
So choose the right professionals to get the best floor sanding service. Timber Floor Sanding Melbourne stands as a beacon of excellence in the realm of floor sanding. With a commitment to quality craftsmanship and customer satisfaction, our team ensures that every timber floor receives the meticulous care it deserves, transforming spaces and leaving a lasting impression of beauty and durability.


