Hardwood floors have an innate beauty and charm that add a warm, organic quality to any home. Yet, like any cherished feature, they require regular upkeep to maintain their allure.
Understanding the difference between floor sanding & polishing Melbourne– and recognising when and how each method should be applied – is crucial in preserving the lustrous appearance of your wood floors.
This guide will take you through everything you need to know about preparing your floors for either process, whether it’s a DIY project or one with professionals.
Let’s dive into the world of floor maintenance and discover the secrets to sand and polish floorboards.
Understanding Floor Sanding and Polishing
Floor sanding and polishing are two crucial processes for the maintenance and restoration of hardwood floors. While they are often mentioned together, they serve different purposes and have different effects on your floors.
Let’s delve into the nuances of each method and when it’s beneficial to use them in tandem.
Polishing vs. Sanding: Key Differences and Purposes
Polishing, sometimes called buffing, enhances the sheen of your floors without deeply penetrating the timber. It works by shining the surface layer of wax, polish, or varnish applied to the floors. This method is ideal for older timber floors in good condition as they typically have a well-cured surface that responds well to buffing.
Conversely, sanding is more intensive and suited for restoring damaged floors. It involves stripping the top layer of timber and removing any unhealthy or dry wood to reveal the healthy timber underneath.
After sanding, the floor is usually treated with a varnish or stain.
This process is particularly effective for dealing with deeper scratches that polishing alone can’t address.
Knowing When to Sand and When to Polish
Deciding between sanding and polishing floorboards hinges on the state of your floorboards.
If your floors are principally sound with minor surface marks or scratches, polishing might suffice to restore their allure. This is particularly true for older floors where the objective is to rejuvenate rather than overhaul.
On the flip side, sanding is your ally against deeper scratches, obvious wear patterns, or any form of structural timber damage.
It’s also the precursor to any significant change in the floor’s finish —a new colour stain or a switch from matte to gloss.
A rule of thumb: if it’s deep or you’re dreaming big, sand. If it’s superficial or you’re sprucing up polish.
Preparing Your Floors for Sanding and Polishing
Before you dive into sanding or polishing, some prep work is required to ensure the process goes smoothly and safely.
Here’s what you need to know:
Clearing and Cleaning the Area
Start with a clean slate. Remove all furniture, rugs, and any other items from the floor.
This includes tackling cupboards and closets if they’re part of the room. Once everything’s out of the way, sweep, dust, and vacuum thoroughly.
This isn’t just about cleanliness. It’s about ensuring nothing gets in the way of your sanding or polishing equipment, allowing for a uniform and flawless finish.
Checking for Staples, Tacks, and Protruding Nails
Floorboards can harbour hidden foes like staples, tacks, and nails that have worked their way above the surface over time.
These need to be addressed before any sanding or polishing begins. Use pliers or a similar tool to remove staples and tacks.
For nails, either hammer them deeper into the board or remove them if they no longer serve a purpose. This step isn’t just about protecting your equipment; it’s about securing a smooth, uninterrupted surface for your floor’s new finish.
With these preparatory steps, you’re now ready to embark on the journey of transforming your floors from worn to wow.

The Sanding Process Explained
When it comes to rejuvenating your floorboards, sanding plays a pivotal role. It’s the perfect way to restore damaged floors by stripping away the upper layer of wood, revealing the healthy timber underneath.
Let’s dive into how you can choose the right sanders for your project and employ professional techniques to get your floors looking their absolute best.
Types of Sanders and Their Uses
Professionals use various sanders, each designed for specific tasks: –
- Drum sanders are powerful tools ideal for flattening the main body of the floor.
- Belt sanders, similar to drum sanders but with a sanding belt, are used for significant sanding tasks.
- Edgers are smaller, hand-guided machines employed to sand close to walls and around the perimeter of a room.
- Rotary machines and multi-head sanding machines like the Trio are used for final sanding and hard plating to achieve a perfectly smooth surface.
- Random orbital and corner sanders address areas difficult to reach with larger machines, ensuring even sanding across the entire floor.
Choosing the Right Sanders
Selecting the proper sander is essential for the success of your project. There are several types of sanders, each with its unique benefits. The drum sander, for example, is the traditional choice for working on large areas of the floor.
It uses a cylindrical wheel wrapped in sandpaper and is often referred to as the “big machine” due to its ability to flatten the main body of the floor.
The belt sander, similar to the drum sander but with a sanding belt, and the edger, a smaller, hand-guided machine used for getting close to walls and tight spaces, are also indispensable tools.
A rotary machine or a multi-head sanding machine like the Trio can provide that smooth final surface for the finishing touches.
Meanwhile, in corners and hard-to-reach areas, a hand-held random orbital sander ensures a consistent blend with the rest of the floor.
Professional Techniques and Approaches
Engaging a professional floor sanding & polishing Melbourne service or deciding to tackle the job yourself hinges upon the state of your floors.
Professionals utilise a variety of techniques tailored to the specific needs of your flooring.
Basic or level sanding, for example, is performed with coarser grits to flatly remove unevenness between board edges and any cupping present in the boards.
The selection of the sandpaper grade for this initial cut varies depending on the project’s specific requirements.
Finish sanding smoothens the floor further by minimising the depth of scratch marks left by the initial sanding, preparing the floor for polishing.
In some cases, hard plating might be necessary to eliminate minor imperfections and achieve a completely flat surface. This involves using a rotary machine with a less flexible
plate for the most effective result.
The Polishing Process Explained
Post-sanding, your floorboards are ready for the transformative stage of polishing. This is where the true beauty of your wood floors begins to shine through, protected, and enhanced by the right sealing and finishing products.
Applying Sealing and Polishing Products
After the thorough preparation and sanding stages, selecting the right sealant and polish is crucial.
These products not only influence the final look of your floor but also contribute to its durability and protection.
Experts recommend consulting with a professional to ensure that you choose the best products for your specific type of timber flooring.
This stage requires precision, as the improper application of sealing and polishing products can lead to unsatisfactory results or even damage.
Ensuring a Uniform and Aesthetic Finish
The goal of this final step is to achieve a uniform scratch pattern across the entire floor surface. It’s essential to meticulously polish the floor using a rotary machine equipped with a flexible pad.
This not only ensures a consistent finish but also serves as a final check for any potential imperfections before the application of the coating.
The polishing process must be conducted evenly and with care to preserve the integrity and appearance of your newly sanded floorboards.
Renovating your floorboards through sanding and polishing is a rewarding process that restores their beauty and protects them for years.
With the right tools, techniques, and products, you can achieve a professional-quality finish that enhances the aesthetic appeal and value of your home.
DIY Tips for Sanding and Polishing
Taking on the task of sanding and polishing floorboards can be immensely rewarding. The sanding and polishing offer a fresh and revitalised appearance to your home.
Here are some pro tips to ensure you nail this DIY project.
Preparation for DIY Sanding
Before diving into the sanding and polishing process, it’s crucial to prepare your space adequately.
Start by removing all furniture, rugs, and items from the floor area.
Next, inspect the floor for staples, tacks, or protruding nails and remove or drive them below the surface. If your floorboards were previously carpeted, ensure all carpet fixings are removed.
Give your floor a good sweep, dust, and vacuum to create a clean surface ready for sanding. Remember, a well-prepared surface makes the subsequent steps smoother and more effective.
Necessary Tools and Materials
Equipping yourself with the right tools and materials is half the battle.
You’ll need:
– A floor sander (drum or belt sander for larger areas and an edging sander for skirting and tight spots)
– Sandpaper in various grit levels (start with coarser grits like 24 or 40 for initial sanding and progress to finer grits such as 80, 120, or 150 for finishing touches)
– A vacuum cleaner for dust collection
– Protective gear, including dust masks and ear muffs
– Heavy-duty extension cords
– A supportive partner or friend.
Sanding can be physically demanding, and help with lifting and maneuvering the equipment is always beneficial.
Step-by-Step Guide on How to Sand and Polish Floorboards
1. Starting Off: Begin with the coarsest sandpaper to remove the old finish and any blemishes or unevenness. Always sand in the direction of the wood grain and keep the sander moving to avoid creating depressions in the wood.
2. Progressing: Gradually move to finer grit sandpapers as your floor begins to smooth out. This gradually eliminates the deep scratches left by the coarser paper, refining the wood’s surface.
3. Edging: Use your edging sander to get up close to walls and cabinets. This ensures a consistent finish across the entirety of your floor.
4. Final Touches: Once you’ve achieved a smooth surface, vacuum thoroughly to remove all dust. If you plan to apply a stain, now is the time, followed by your choice of sealant or polish.
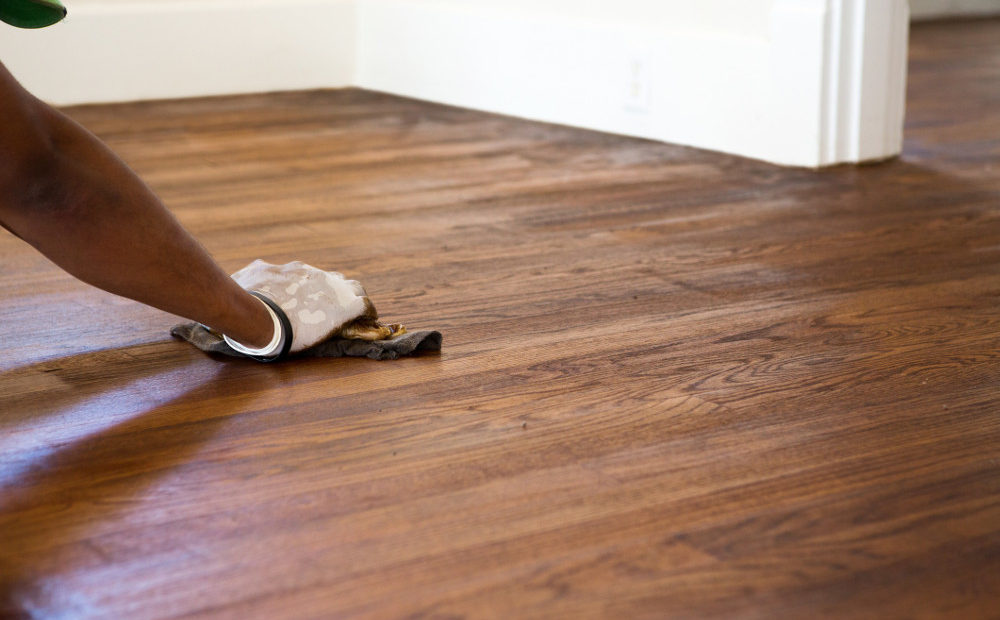
5. Polishing: Polishing or buffing the floors enhances their sheen and offers a protective layer. Use a buffer and appropriate polishing pads following the manufacturer’s directions for the best finish.
Aftercare and Maintenance
After investing effort into sanding and polishing floorboards, it’s crucial to maintain them properly to keep that like-new appearance for years to come.
Post-Sanding and Polishing Care
Initially, avoid walking on freshly polished floors for at least 24 hours.
You can place furniture back in three days but remember to lift instead of drag to prevent scratches.
For the first week, be particularly gentle with the surface as the polish fully hardens. Use protective pads under furniture legs to prevent damage.
Preventing Damage and Extending Durability
Maintaining your floor’s appearance involves regular cleaning with suitable products that won’t harm the wood’s finish. Immediate cleaning of spills prevents water damage and stains.
Place mats at entrances to catch dirt and grit that might scratch the floor, and consider using rugs in high-traffic areas.
Regularly rearrange rugs and furniture to allow even aging and wear of the floorboards across the entire area. Avoid wearing stilettos on the wood floors, as sharp heels can cause dents.
As our exploration draws to a close, remember that each piece of advice shared is a key to unlocking the potential hidden in your hardwood floors.
Whether you choose to venture into this world on your own or call upon the wisdom of professionals, preparation is your steadfast ally.
Understand that sanding and polishing floorboards are not just maintenance tasks but a dialogue with the wood. Listening to its needs, responding to its condition, and honouring its history, you embark on a journey of restoration that goes beyond mere aesthetics.
For those intrigued by the challenge of DIY, equip yourself not just with tools but with knowledge.
If you’re hesitant about tackling this task DIY-style, fret not—Timber Floor Sanding Melbourne is here to assist you. As the premier floor sanding & polishing Melbourne team, we boast years of experience and extensive knowledge.
Connect with us today to have your floorboards sanded and polished, achieving stunning results that truly stand out.
