Hardwood floors exude timeless beauty and elegance, but they can lose their lustre over time due to daily wear and tear. If your hardwood floors are looking a bit tired, fret not!
Hardwood floor sanding Melbourne and polishing can work wonders in revitalising your floors and bringing back their natural radiance.
In this guide, we’ll walk you through the step-by-step process of hardwood floor sanding and polishing, making the seemingly complex task a breeze to understand.
Preparation is Key
Before diving into the floor sanding Melbourne and polishing process, thorough preparation is essential:
Clear the Area: Remove all furniture, rugs, and other obstacles from the room to provide unobstructed access to the floor.
Inspect for Damage: Check for loose boards, nails, or damages. Addressing these issues before sanding ensures a smooth process.
Sanding: Restoring the Surface
Sanding is the cornerstone of hardwood floor restoration, creating a smooth canvas for polishing:
Coarse Sanding: Starting with coarse-grit sandpaper, the aim is to remove old finishes, stains, and imperfections. This step rejuvenates the wood underneath.
Intermediate Sanding: Gradually progress to finer grits of sandpaper. This step further refines the surface and ensures a seamless appearance.
Fine Sanding: The final sanding pass is done with finer grit, creating a beautifully smooth and uniform surface.

Filling And Repairing
After sanding, it’s common to have small gaps and imperfections. This is the stage to fill and repair:
Gap Filling: Using wood filler or putty, fill any gaps, cracks, or nail holes. This step is essential to getting a perfect finish.
Levelling: Sand the filled areas lightly to level them with the rest of the floor, creating an even surface.
Polishing: Unveiling the Radiance
Polishing is where the magic happens, bringing out the innate beauty of your hardwood floors:
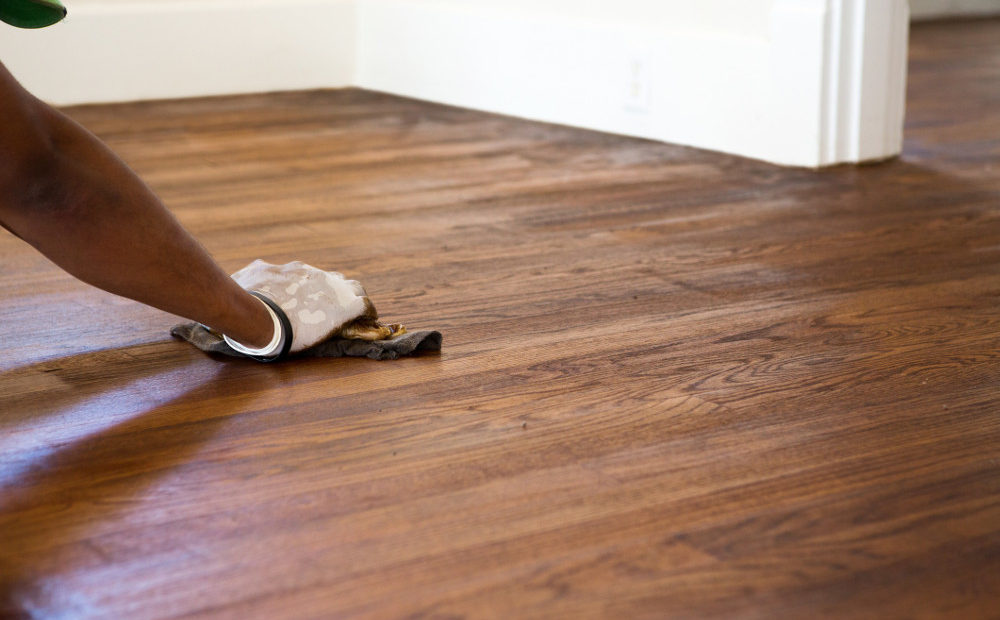
Staining (Optional): If you desire a new colour for your floors, this is the stage to apply a stain. Always choose a colour that goes well with your room’s decor.
Applying Finish: The final touch involves a protective finish, such as polyurethane or varnish. This shields the wood from moisture and everyday wear.
Drying and Curing
After the finish is applied, patience is crucial:
Drying Time: Allow the finish to dry completely. Follow the manufacturer’s instructions for drying time, which typically ranges from a few hours to a day.
Curing Time: While the floor may feel dry, the finish must cure fully. Avoid placing furniture or heavy items on the floor for the duration specified by the finish manufacturer
Admire Your Revived Floors
As the finish cures, it’s time to revel in the beauty of your newly rejuvenated hardwood floors:
Replace Furniture: Once the curing period ends, you can return furniture and rugs to their designated spots.
Regular Maintenance: To keep your floors looking splendid, regularly clean them with a gentle hardwood floor cleaner and avoid excessive moisture.
Hardwood floor sanding Melbourne and polishing is an art that transforms worn-out floors into stunning focal points of your home. By following these steps, can confidently navigate the process and achieve floors that radiate timeless elegance. Remember, preparation, sanding, filling, polishing, and proper drying are the key stages that contribute to the success of your project. Transform your floors with expert precision.
Choose Timber Floor Sanding Melbourne for flawless results, exceptional craftsmanship, and unrivalled customer satisfaction. Book your consultation today and experience the beauty of perfectly sanded and polished timber floors.
