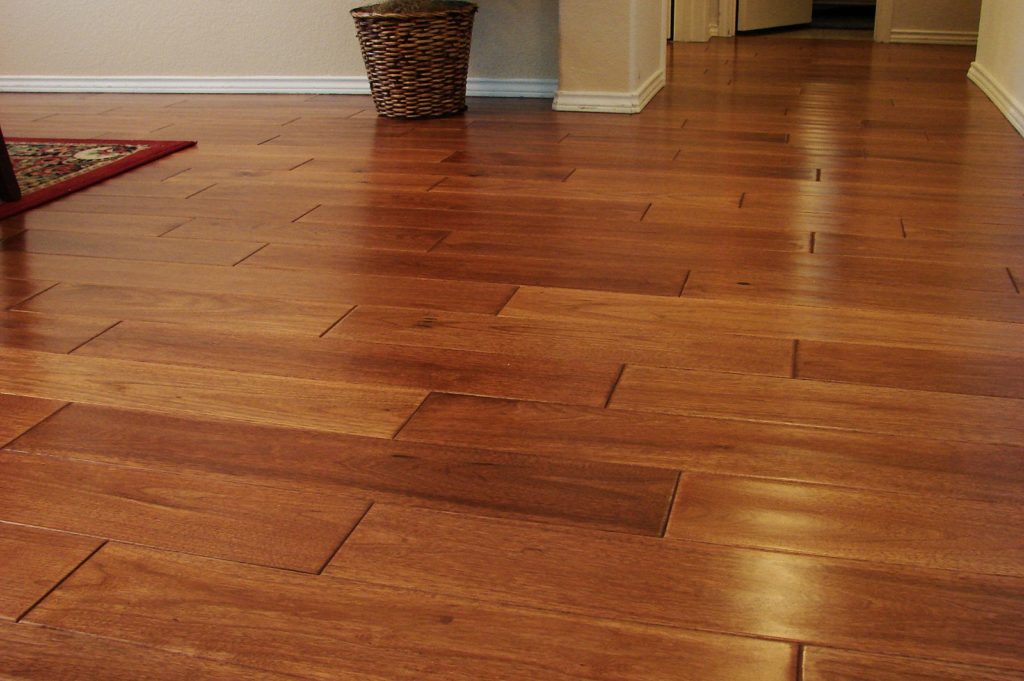
Have you ever looked at your vinyl floors and thought, “Why have they lost their lustre?” It happens to the best of us. Over time, vinyl floors can accumulate dirt and scuff marks and lose that glossy shine we love. The good news? You don’t have to live with dull floors.
In this guide on how to strip and polish vinyl floors professionally, we’ll discuss the challenges faced by homeowners, providing you with expert floor polishing Melbourne tips and a step-by-step solution that will leave your vinyl floors looking as good as new.
So, let’s give your floors the professional treatment they deserve!
Understanding Vinyl Floors:
Before we dive into the process of stripping and polishing vinyl floors, let’s take a moment to understand what vinyl flooring is and its composition. Vinyl flooring is made of multiple layers, typically including a base layer, a print layer, and a protective wear layer. This composition makes vinyl floors highly durable and resistant to stains, scratches, and moisture.
There are different types of vinyl flooring available in the market, including sheet, plank, and tile. Sheet vinyl is a large, continuous roll of flooring, while plank vinyl resembles hardwood planks, and vinyl tiles mimic the look of ceramic tiles.
Each type has its own pros and cons, but regardless of the type you choose, proper maintenance is essential to extend their lifespan.
Preparations Before Stripping and Polishing:
Before you start with the stripping and floor polishing Melbourne process, it’s important to gather the necessary tools and equipment. Some essential tools include a vinyl floor polishing machine, a mop, a bucket, a scrub brush or floor machine, and a high-quality stripper solution. Investing in good equipment will ensure better results and save you time and effort in the long run.
Additionally, safety should always be a priority. Make sure to wear protective gear such as gloves and goggles to avoid any accidents. It’s also a good idea to protect surrounding furniture or objects by covering them with plastic sheets or moving them out of the area.
Step-By-Step Guide: How To Strip and Polish Vinyl Floors
Now, let’s get into the step-by-step process of stripping vinyl floors to remove the old finish and prepare them for polishing.
1. Clearing the Area:
Start by removing all furniture and objects from the floor area. This will make the stripping process easier and help avoid any damage to your belongings. If you have heavy items that are difficult to move, consider using furniture sliders to minimise the effort.
2. Applying the Stripper Solution:
Choose a suitable stripper solution specifically designed for vinyl floors. Read the instructions carefully and dilute it according to the manufacturer’s recommendations. Apply the solution evenly across the floor surface using a mop or a sponge mop. Make sure to cover the entire area and avoid leaving any dry spots.
3. Allowing Dwell Time:
Dwell time refers to the duration for which the stripper solution needs to remain on the floor surface to dissolve the old finish effectively. This time can vary depending on the product used, so it’s important to follow the instructions provided. Typically, a dwell time of 10-15 minutes is recommended.
4. Scrubbing Away Old Finish:
After the dwell time, it’s time to scrub away the old finish. Use a scrub brush or a floor machine with a scrub brush attachment to agitate the stripper solution and remove the loosened finish. Make sure to scrub in a circular motion, applying moderate pressure. Be careful not to scrub too hard or use abrasive materials that can damage the vinyl.

How To Polish a Vinyl Floor for Maximum Shine
Once the stripping process is complete, it’s time to move on to polishing the vinyl floors to achieve a beautiful shine. Here’s how:
1. Choosing the Right Polish:
When it comes to choosing a polish for your vinyl floors, there are various options available in the market. Look for the best vinyl floor polish that is specifically formulated for the type of vinyl flooring you have. Seek recommendations from professionals or do some research to find the best product for your needs.
2. Applying the Polish:
Before applying the polish, make sure the floor is clean and free of any residue from the stripping process. Use a clean mop or an applicator pad to apply the polish evenly across the floor surface. Follow the manufacturer’s instructions for the recommended amount to use and the drying time required.
3. Buffing and Restoring Shine:
Buffing is the final step to bring out the glossy shine on your vinyl floors. Use a buffer machine with a soft pad attachment to gently buff the surface in circular motions. This will help distribute the polish evenly and restore the shine. Be cautious not to over-buff, as it can damage the vinyl. Take your time and ensure a smooth and consistent finish.
Why Choose Professional Vinyl Floor Polishing Services?
Professional vinyl floor polishing services have many benefits. Experts use special tools and quality products to restore shine and durability. They skilfully remove stains, scuffs, and scratches for a spotless finish. Choosing pros saves time, ensures longevity, and prevents uneven wear. Their expertise guarantees a thorough and even polish. Opting for professional polishing ensures a well-maintained, pleasing, and resilient floor.
Maintenance Tips: How to Make Vinyl Floors Shine for the Long Haul
Cleaning and polishing vinyl floors is essential to keep them looking new and well-maintained. Here’s a step-by-step guide on how to clean and polish vinyl floors:
1. Regular Cleaning Routine:
Create a regular cleaning routine that includes sweeping, vacuuming, and mopping. Remove any dirt or debris promptly to prevent scratches or stains. Use a mild cleaner specifically formulated for vinyl floors and avoid harsh chemicals or abrasive cleaners that can damage the surface.
2. Preventive Measures:
Prevent scratches and stains by using doormats at entrances, placing rugs in high-traffic areas, and using furniture pads to protect the floor from furniture legs. Wipe up spills immediately to prevent any potential damage.
In conclusion, stripping and polishing vinyl floors professionally is a game-changer for your space. Remember, prep is key! Clean the surface thoroughly before diving in. Choose quality stripping agents for effective results. Take your time during each floor polishing Melbourne step to ensure precision. When applying the polish, even coverage is your best friend. Let patience be your guide as the layers dry – trust the process. The end results? A glossy, pristine vinyl floor that radiates sophistication and charm.
If you’d rather leave this job to experts, consider reaching out to Timber Floor Sanding Melbourne for a hassle-free, top-notch finish that will make your floors truly stand out.


