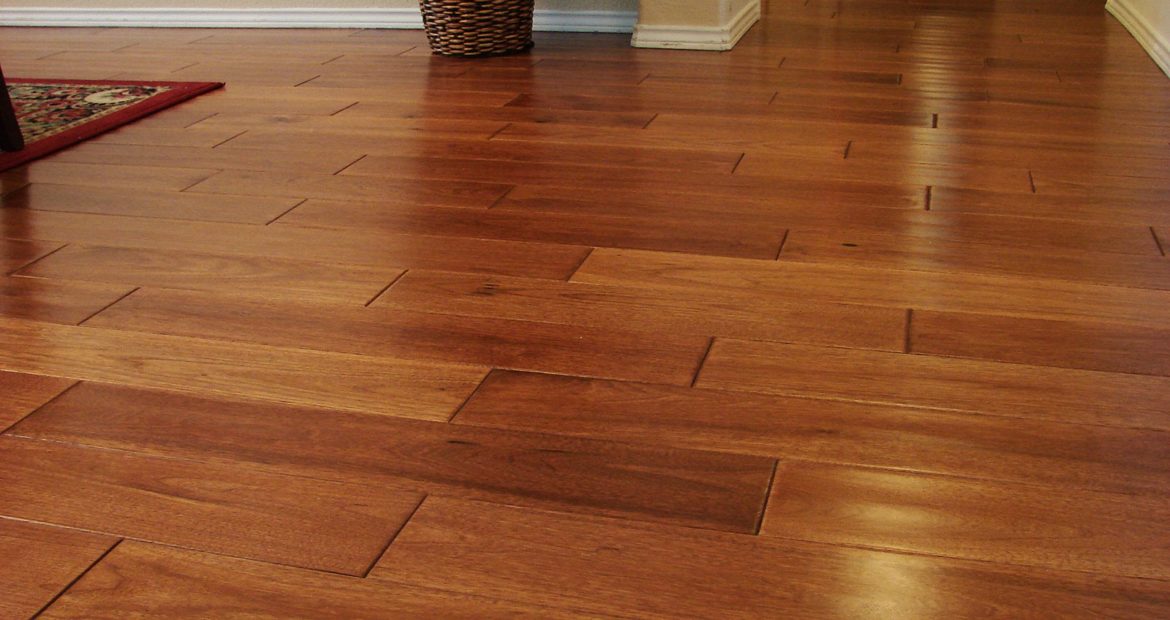
Hey there, home improvement enthusiasts! So, you’ve decided to take the plunge and give your hardwood floors a fresh lease on life, and you’re thinking about using an orbital sander to get the job done? Well, you’ve come to the right place! Proper floor sanding Melbourne is like uncovering a hidden treasure beneath the surface, revealing the natural beauty of the wood. But don’t worry, it’s not as daunting as it may seem.
In fact, it can be quite a satisfying DIY project, but for perfect results and safety, it’s better to hire professionals. In this blog post, we’ll walk you through the steps of using an orbital sander to revamp your hardwood floors, making your home shine with a timeless, classic elegance.
Ready to transform your space? Let’s dive in!
Why Sand Your Hardwood Floors?
Before we dive into the “how,” let’s quickly address the “why.” Over time, hardwood floors can become scratched, scuffed, and discoloured. Sanding them not only removes these imperfections but also provides a fresh canvas for refinishing or staining. It’s a game-changer for both aesthetics and the longevity of your floors.
What You’ll Need
Gather your supplies before starting the project. You’ll need:
- An orbital sander
- Sandpaper discs (starting with coarse grit and gradually progressing to finer grits)
- Safety gear (goggles, dust mask, and ear protection)
- A vacuum cleaner
- Painter’s tape
- Plastic sheeting
Preparation and Safety Measures
Before you begin sanding your hardwood floors, it is crucial to gather all the necessary tools and materials. You will need an orbital sander, sandpaper of various grits (coarse to fine), a dust mask, goggles, gloves, and a vacuum cleaner. It is also important to clear the floor area from any furniture or obstacles to ensure smooth and uninterrupted sanding.
Safety should be your top priority when working with an orbital sander. Wear protective gear such as goggles to protect your eyes from dust and debris, gloves to protect your hands, and a dust mask to avoid inhaling fine particles. Additionally, make sure to read and follow the manufacturer’s instructions for operating the orbital sander.
Initial Floor Inspection
Before you start the floor sanding Melbourne process, it is essential to inspect the condition of your hardwood floor. Look for any damages, such as deep scratches, gouges, or uneven surfaces, that need to be addressed before sanding. It is crucial to repair any damages and level any uneven areas to achieve a smooth and uniform result.
Selecting the Right Grit for Sanding
Choosing the right grit for sanding is crucial to achieve the desired result. Different types of sandpaper grits are available, ranging from coarse to fine. The grit you choose will depend on the condition of your floor. If your floor has deep scratches or rough surfaces, start with coarse grit sandpaper. If your floor is in relatively good condition, you can start with medium grit sandpaper. As you progress, gradually switch to finer grits for a smoother finish.

First Pass with the Orbital Sander
Once you have selected the appropriate grit for sanding, it’s time to start sanding with the orbital sander. Begin by sanding the floor in straight lines, going with the grain of the wood. Start from one corner of the room and work your way towards the opposite corner. It is essential to cover each section of the floor evenly and avoid staying in one spot for too long, as it can result in uneven sanding.
Intermediate Sanding and Grit Progression
After the initial pass with the coarse-grit sandpaper, it’s time to progress to finer grits. Gradually switch to a medium grit sandpaper and repeat the sanding process. This stage is crucial for removing any visible scratches or imperfections left by the coarse grit sandpaper. Remember to sand in straight lines and cover the entire floor area evenly.
Fine Sanding and Smoothing
To achieve a smooth surface, it is essential to use even finer grits during the sanding process. Switch to fine grit sandpaper and repeat the sanding process once again. Pay extra attention to edges and corners that may require extra care. It’s important to take your time and ensure that the entire floor is sanded evenly.
Vacuuming and Surface Cleaning
After completing the sanding process, it is crucial to thoroughly vacuum all the dust and debris. Use a vacuum cleaner with a brush attachment to remove all the fine particles. Once the floor is free from dust, wipe down the surface with a damp cloth to remove any remaining residue. Make sure the floor is completely dry before proceeding to the next step.
Inspecting and Preparing for Finishing
Before applying any finish to your newly sanded hardwood floor, it is essential to inspect the surface for any missed spots or imperfections. Use a bright light and go over the entire floor to ensure a smooth and uniform result. If you notice any areas that require further sanding, go back and sand those areas using the appropriate grit sandpaper.
Once you are satisfied with the condition of your sanded floor, it’s time to prepare it for finishing. Ensure that the floor is clean, dry, and free from any debris. This step is crucial to ensure proper adhesion of the finish and to achieve a professional-looking result.
Sanding hardwood floors with an orbital sander can be a challenging task, but with proper preparation and the right techniques, it can be a rewarding experience. By following the step-by-step floor sanding Melbourne process, you can achieve a smooth and beautiful finish on your hardwood floors.
Remember to take your time and follow all the necessary safety measures to protect yourself and your floors. Always wear the appropriate protective gear, and make sure to read and follow the manufacturer’s instructions for operating the orbital sander.
However, using an orbital sander on your own can be risky if not done properly, so it’s advisable to hire professionals from Timber Floor Sanding Melbourne who are knowledgeable in the safe handling of orbital sanders.
