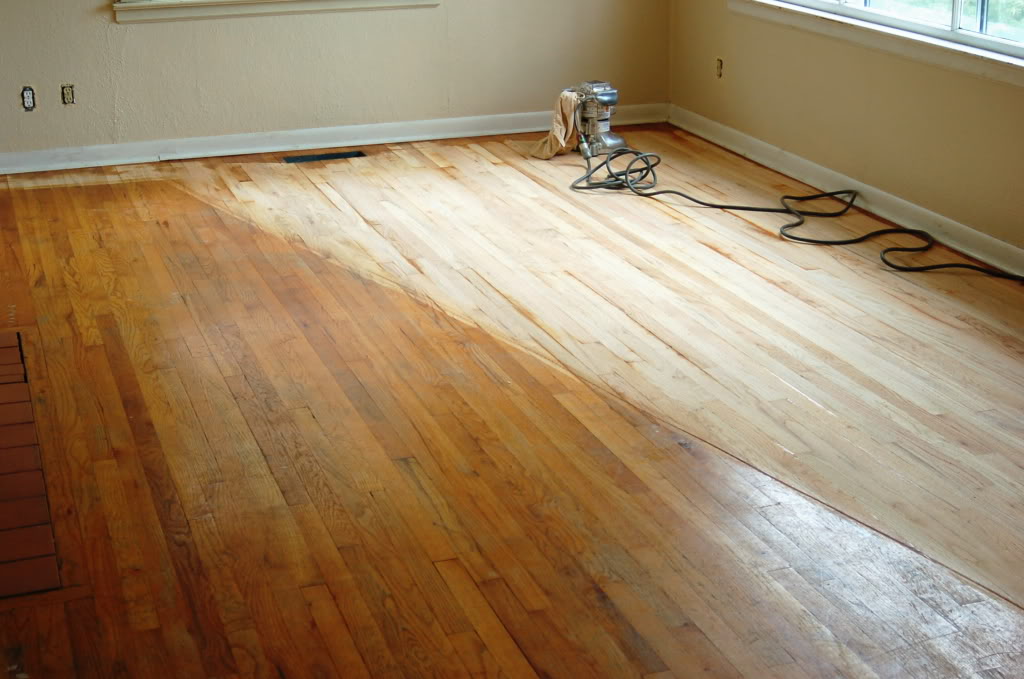
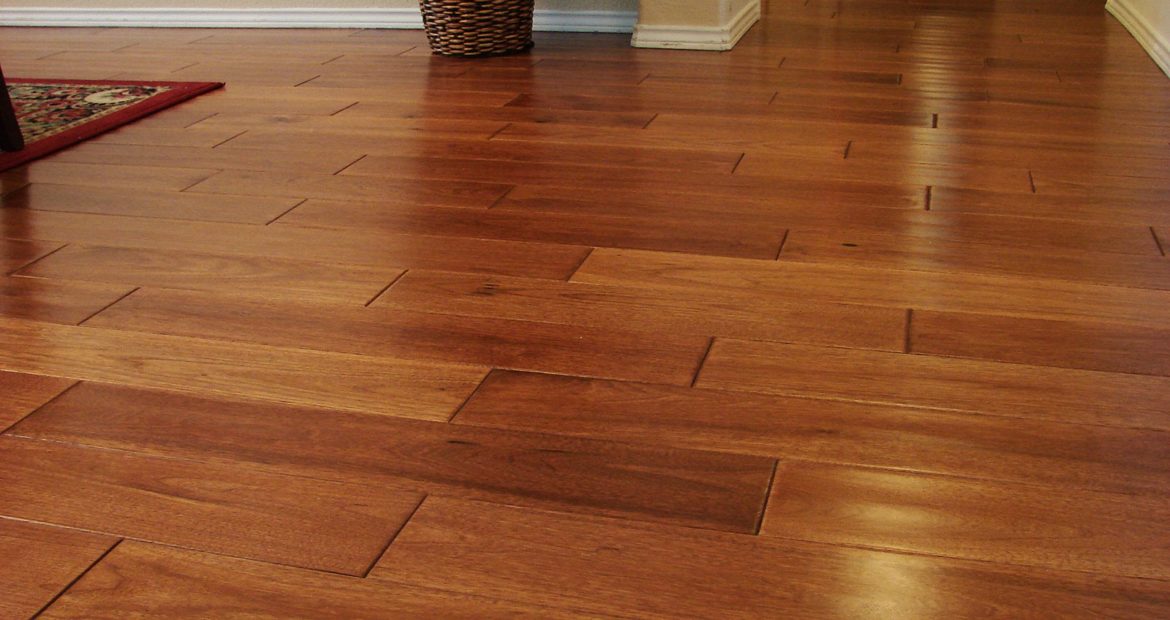
Sanding a floor by hand is a task that not only requires patience and precision but is also deeply rewarding. Hand sanding a floor helps in restoring its hidden beauty. This process offers a unique personal connection to your home and directly engages with the material of your wooden floors.
Here, we will discuss the essential steps and tips for sanding a floor by hand, ensuring you are well-prepared. From understanding the reasons for choosing manual sanding to selecting the appropriate tools and materials, and finally, executing the floor sanding Melbourne process, we are going to cover all the critical aspects you need to know.
Choosing Hand Floor Sanding
Hand sanding floors is a deliberate choice that many homeowners make for various reasons. Firstly, hand sanding offers great control and the ability to pay close attention to details, particularly when dealing with old wood floors.
Additionally, hand sanding can be beneficial in tight spaces or complex areas where a machine cannot reach effectively. By choosing to sand a floor by hand, you can ensure the utmost care and personalisation that is often missing in mechanical methods.
Tools and Materials Needed for Manual Sanding
Before starting hand floor sanding, gather the right tools and materials. Here’s a breakdown of what you will need:
- Handheld Orbital Sander: Essential for the initial stages of sanding, helping you remove old finishes and smooth out the surface.
- Sandpaper of Varying Grits: Starting with coarse grits for removing old finishes, and gradually moving to finer grits for a polished look.
- Safety Gear: Including dust masks, safety goggles, and ear protection to ensure you work in a safe environment.
- Surface Protection: Plastic sheeting or drop cloths and painter’s tape to protect your workspace and surroundings.
- Cleaning Supplies: A vacuum cleaner for dust removal and rags or brushes for spot cleaning.
- Wood Filler and Putty Knife: To address imperfections in the wood before the final sanding.
- Floor Finish and Applicator: Select a high-quality finish that meets your preference and an applicator pad or brush for even application.
Preparing Your Space and Wood Floor for Sanding
Proper preparation is the foundation of a successful sanding project. This stage involves preparing both your workspace and the wood floor itself to ensure a smooth, efficient process that results in a beautifully refinished surface.
Clearing and Protecting the Space
The first step is to remove all furniture and objects from the room. This not only creates ample space for you to work but also protects your belongings from dust or damage.
Cover any adjacent areas, doorways, and openings with protective sheeting or drop cloths, secured with painter’s tape. This will help maintain a clean environment and make clean-up easier.
Ensuring Safety and Proper Ventilation
It’s crucial to wear your safety gear—including a dust mask, safety goggles, and ear protection—from the moment you start sanding. Moreover, proper ventilation is key.
Open windows and doors and, if possible, use fans to ensure a continuous flow of fresh air. This will not only help to dissipate dust but also aid in the drying process once you apply the finish to your floors.
Inspection and Repair of the Wood Floor
Before sanding begins, closely inspect your wood floor for any nails, staples, or loose boards. Secure any loose boards and replace damaged sections if necessary. Fill any cracks, holes, or gaps with wood filler, using a putty knife for a smooth application.
Allow the filler to dry thoroughly before sanding over these areas. Setting up your workspace and ensuring the condition of your wood floor will pave the way for a successful hand sanding project.

Beginning the Hand Sanding Process
Achieving a beautifully restored wood floor through manual labour requires not only patience but also a deep understanding of the techniques involved. The hand sanding technique is crucial in this regard.
It offers an intimate connection with the wood, allowing for detailed work that machinery may miss or cannot accomplish. This section explores the essential steps and methods for effective hand sanding.
1. Starting with Coarse Grit and Progressing to Finer Grits
The journey to a smooth, refined wood floor surface begins with coarse-grit sandpaper. Start with a grit around 60 to 80, aiming to strip away the old finish, dirt, and any significant imperfections. This heavy-duty phase is critical for levelling the floor and preparing it for further refinement.
As you progress, switch to medium grits such as 100 to 120 for intermediary sanding. This step smooths out the roughness left by the coarse grit and begins to polish the surface.
Finally, adopting fine grits above 150 will render the wood surface impeccably smooth, ready for finishing touches. Through this gradient approach, you incrementally refine the floor, avoiding damage and ensuring a uniform texture.
2. Sanding Edges and Corners
Edges and corners are often inaccessible to larger sanding tools. For these areas, folding the sandpaper around a sanding block or using your fingers for tricky spots is advisable.
It’s important to maintain the same grit progression as with the rest of the floor. Gentle, precise movements help prevent gouges, ensuring these areas receive the same level of attention and smoothness as more expansive sections.
3. Cleaning and Final Inspection
As you conclude each sanding stage, remove the accumulated dust for both health reasons and to prepare for the next stage. A vacuum cleaner and a damp cloth can effectively capture the fine dust particles, offering a clean canvas for further work.
Do a thorough final inspection and feel the wood with your hands to ensure no area has been overlooked or inconsistently sanded.
Addressing Imperfections
Old wood floors often have signs of wear and tear, such as gaps, cracks, knots, and blemishes. Rather than viewing these marks as flaws, consider them as opportunities to enhance the floor’s unique story.
1. Filling Gaps and Cracks
Gaps and cracks in the wood floor can detract from its overall appearance and functionality. To address these, select a wood filler that closely matches the floor’s colour. Apply the filler using a putty knife, ensuring the gaps are completely filled, and the excess is cleanly removed.
Sand over the filled areas with fine-grit sandpaper once the filler has dried, creating a seamless surface that’s ready for finishing.
2. Feathering Edges and Final Sanding
Feathering is a technique used to blend repaired areas with the rest of the floor. After filling and initial sanding, gently sand the edges of the filled spots, gradually blending them into the surrounding wood. This avoids creating noticeable transitions or ledges on the floor surface.
A final sanding with a very fine grit will ensure the entire floor is even and smooth. This last pass is essential to achieve a professional, refined finish that’s ready for sealing or staining.
Addressing floor imperfections thoughtfully enhances the floor’s aesthetics and historical value.
Applying the Finishing Touches
To bring out the best in your hand-sanded floor, apply the finishing touches with precision and care. This final phase is where your efforts truly shine, transforming a well-sanded surface into a breathtakingly beautiful floor that enhances the aesthetic of your space. Here’s how you can apply these finishing strokes effectively:
Selecting and Applying the Right Floor Finish
Choose the correct finish for your hand-sanded floor to achieve the desired aesthetics and functionality. The finish not only adds a protective layer but also defines the final appearance of the floor. Common options include polyurethane for high durability with a glossy sheen, tung oil for a natural, matte look, and water-based finishes for a more eco-friendly, low-odour choice.
Apply the finish using an applicator pad or brush, starting from the furthest corner of the room and working towards the exit to avoid getting trapped. Ensure the application is thin and even, maintaining the direction of the wood grain to preserve the natural beauty of the floor. This detail accentuates the rich texture of the wood, lending an element of depth to the overall finish.
The Importance of Multiple Coats and Drying Time
For a truly stunning and resilient finish, apply multiple coats is recommended. After the initial coat dries — as indicated by the manufacturer’s guidelines — lightly sand the surface with fine-grit sandpaper to prepare it for the next layer. This not only ensures better adhesion of subsequent coats but also contributes to a smoother, more refined finish.
Adequate drying time between coats cannot be overstressed; it is crucial for the finish to cure properly, ensuring maximum durability and longevity. Ventilation plays a significant role during drying, helping expedite the process while ensuring the finish sets correctly without trapping any moisture.
Conducting a Final Inspection for Perfection
After the last coat of finish has dried, inspect the floor meticulously for any inconsistencies, missed spots, or imperfections. This final inspection is paramount to ensuring that your efforts culminate in a flawless finish. Lightly sand and touch up any areas that don’t meet your standards, applying additional finish as needed.
This stage needs a keen eye for detail and patience, as minor touch-ups can make a significant difference in the overall quality and appearance of your hand-sanded floor.
Sanding a floor by hand is not just a DIY project; it’s a journey to the natural beauty and history embedded in your old wood floors. This process is time-consuming but allows for a personal connection with the material and the space it enhances.
Hand sanding the wood floors will demand patience, attention to detail, and a gentle touch. From selecting the right tools and materials to preparing the space and executing the sanding technique with precision, every step is crucial to achieving the desired outcome.
Your effort not only refreshes your living space but also pays respect to the craftsmanship of past generations, ensuring that the legacy of your home’s wood floors will continue for years to come.
However, if your floors have complex scratches and marks, then consulting floor sanding Melbourne professionals is advisable. At Timber Floor Sanding Melbourne, we boast years of experience in sanding wood floors. You can trust our expert team to give your floors the best care they deserve. Get in touch now and see the difference yourself!


