You take pride in your home and want to keep your vinyl plank flooring looking its best, but as time goes by, it loses its lustre and shine. There’s no need to call the pros or replace your floors yet! With a few simple tools, materials, and techniques that are easy to learn, you can polish those floors yourself and restore them to their former glory.
But if your vinyl floors are hard to handle, then trust our floor polishing Melbourne professionals for your vinyl plank floor polishing service.
In just an afternoon, you can breathe new life into your vinyl plank flooring so it looks as good as new.
First, let’s review what you’ll need to get started. Then, I’ll walk you through the steps of how to polish vinyl floors, from prepping your floor to applying the polish and finally buffing it to a brilliant showroom shine.
With a bit of elbow grease, you can save money and make your floors sparkle again!
Why Polish Vinyl Plank Flooring?
Polishing your vinyl plank flooring is important to keep it looking its best. There are a few key reasons why you’ll want to polish this type of flooring:
Protect the surface. Vinyl plank flooring has a protective wear layer, but over time and with heavy use, this layer can start to show signs of wear and tear. Applying a polish or sealant helps protect the surface from scratches, stains, and damage. It acts as an extra barrier between the flooring and the elements.
Restore the shine. Vinyl planks often have a glossy, polished look when first installed. Polishing the flooring regularly helps bring back the shine and lustre, making the floor look as good as new. The polish fills in tiny scratches and imperfections, buffing the floor to a bright sheen.
Easier cleaning. A coat of polish makes vinyl plank flooring much easier to clean and maintain. Spills, dirt, and debris slide off the smooth, glossy surface. You’ll spend less time scrubbing and mopping. Polished floors also resist stains better since liquids have a more challenging time penetrating the protective seal.
Extend lifespan. You can significantly extend its lifespan by keeping vinyl plank flooring polished and sealed. The protective layers prevent damage that can cause the flooring to wear out faster. With proper care and maintenance, vinyl plank flooring can last many years before needing replacement.
Improve appearance. A polished vinyl plank floor simply looks nicer. The glossy, smooth surface and restored shine give the flooring a bright, clean appearance. It enhances the natural beauty of the vinyl planks, especially for wood-look vinyl planks. Your floor will be the envy of visitors!
Keeping your vinyl plank flooring polished regularly, whether DIY or professionally done, provides both protective and aesthetic benefits. For the best results, take the help of professional floor polishing Melbourne and get the floor polished every 3-6 months or when water no longer beads on the surface. Follow the directions on your chosen polish product and buff thoroughly. With consistent polishing and care, your vinyl plank flooring will stay fresh and new for years.
What Makes Vinyl Floors Shine?
You’ll need a few basic supplies to polish your vinyl plank flooring and bring back its shine. Here’s what floor polish for vinyl floors you’ll want to gather:
Vinyl floor polish or restorer
Look for a product specifically designed for vinyl, linoleum or laminate floors. Popular brands include Bona, Zep and Armstrong. A polish will add a protective coating and shine, while a restorer will actually restore the vinyl’s finish. Either will work, so choose based on your floor’s needs.
Applicator pad
You’ll need an applicator pad, mop or cloth to spread the polish or restorer. A microfiber mop, cloth or pad works well for applying floor products. Make sure the pad is clean and lint-free.
Bucket
Have a bucket to pour the polish or restorer into, especially if using a mop. A 2-gallon bucket is a good size.
Paint tray
An empty paint tray or rolling tray can also be useful for pouring the product into and loading your applicator pad or cloth.
Gloves (optional)
Wearing rubber gloves can protect your hands from the chemicals in the floor product and prevent staining your nails or skin. Not required but a good precaution.
Cleaning supplies
Have additional mops, cloths, a vacuum and a dustpan on hand for cleaning and preparing your floor before polishing. Remove any dirt or debris for the best results.
With the proper supplies and some elbow grease, your vinyl floors will shine like new again. Be sure to follow the directions on your chosen product for the best method of application and number of coats. Protecting and maintaining your vinyl flooring with regular polishing will keep it looking great for years to come.

Step-by-Step Guide to Polishing Vinyl Plank Floors
To keep your vinyl plank floors looking shiny and new, regular polishing and vinyl floor planks cleaning is key. The good news is that polishing vinyl floors is quite simple and doable.
Here are the steps to polish vinyl plank flooring:
Gather the supplies
You’ll need a few basic supplies: a mop or damp mop, microfiber mop pads or cloths, floor polish or floor finisher (recommended for vinyl floors), and a buffing pad for your mop.
Avoid using wax on vinyl plank floors.
Clean the floor
Give the floor a good sweep or vacuum to remove dirt or debris. Then, damp mop the entire floor with water, a pH-neutral floor cleaner, or a small amount of white vinegar. Allow the floor to dry completely. This will ensure the floor polish adheres properly.
Apply the floor polish.
Follow the directions on the product to dilute the floor polish or finisher. Apply 2-3 thin, even coats using a microfiber mop pad or cloth, waiting 10-15 minutes between coats. Make sure to buff the floor with a white pad after each coat. The floor should feel slightly tacky when done.
Protect the finish
Allow the final coat to dry as directed, usually 3 to 5 hours. Keep foot traffic to a minimum during this time. Place protectors under furniture and rug pads under area rugs. Wipe up spills immediately to avoid damage to the finish.
Regular maintenance
• Sweep, dust and damp mop the floor regularly with a pH-neutral cleaner to remove grit and grime.
• Re-polish high-traffic areas every 3-6 months to maintain protection.
• For stubborn stains, make a paste from baking soda and water and gently scrub with an abrasive sponge or scrubber. Rinse well with water.
• Avoid harsh chemicals, abrasive cleaners, and strong solvents that dull the finish.
• Protect floors from scratching by keeping pets’ nails trimmed and placing protective pads under furniture.
With proper care and maintenance, a polished vinyl plank floor can stay gleaming and damage-free for many years. Be sure to wipe up spills immediately and avoid harsh chemicals to keep your floor looking lustrous.
Hiring Professional Vinyl Floor Polishing Services
When your vinyl plank floors show signs of wear and tear or lose their shine, it may be time to consider a professional vinyl floor polishing service for effective results. DIY methods can work in a pinch, but hiring a pro is the way to go for the best results.
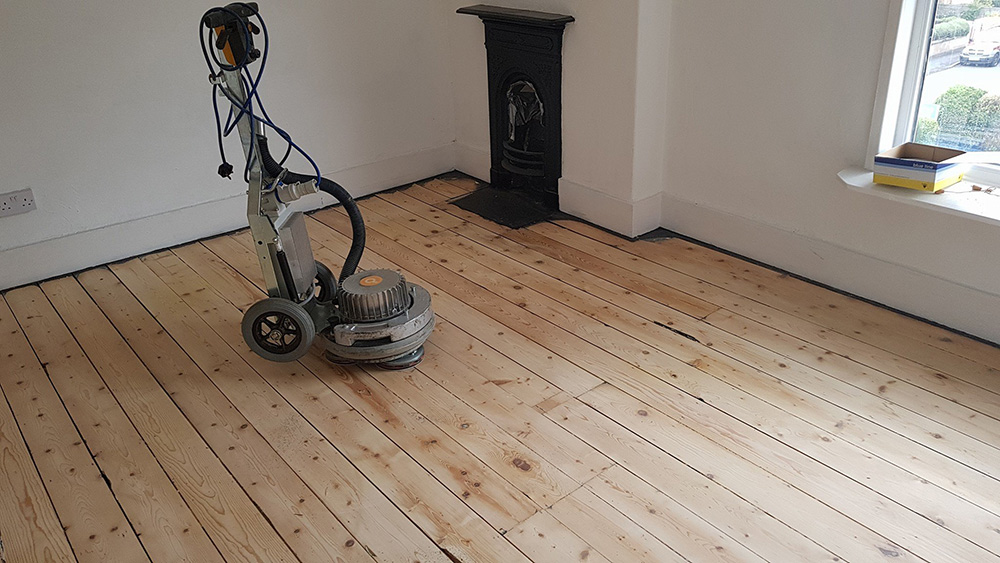
Vinyl floor polishing professionals have the proper training, experience, and equipment to make your floors shine like new again. They use industrial floor polishers, buffing pads, professional-grade sealants and polishes explicitly designed for vinyl floors. The high-powered equipment and abrasives they employ would be difficult and potentially dangerous for an amateur to operate effectively.
Professionals can also spot potential missed issues and determine the proper solution. They can evaluate if your floors would benefit more from polishing, sealing, or resurfacing and which products and techniques would work best based on the current condition and material. They have the knowledge to prepare the floors properly, apply the correct number of coats, and choose finishes that will stand up well to traffic and wear in your home.
An experienced floor polishing pro can polish your floors in a fraction of the time it would take a novice, with far superior results. They are also fully insured and licensed, so you don’t have to worry about potential damage or liability issues. Once complete, professional vinyl floor polishing Melbourne and sealing can restore a high-gloss shine and protect your floors for years.
Professional vinyl plank floor polishing and maintenance services are worth the investment for many homeowners. Your floors are a significant investment, so keeping them looking and performing their best should be a top priority. Professional floor polishing technicians have the skills, equipment, and expertise to make that happen. Hire a pro when you want your vinyl plank floors to shine like new.
So,s Now you have it! Polishing vinyl plank flooring is straightforward, with just a few simple steps. Grab a vinyl floor polish, microfiber mop, and soft cloths, and you’ll have those floors gleaming quickly. Clean the floors thoroughly, apply the polish evenly in thin coats, and buff well. With some elbow grease and patience, you can make those vinyl planks look brand new again. You can take the assistance of Timber Floor Sanding Melbourne experts for floor polishing Melbourne service and keep up with regular polish touch-ups to maintain that glossy sheen. And don’t forget to take care when moving furniture around so you don’t scuff up your hard work! Now you’re ready to polish and enjoy those shiny new floors.
