Wood is a popular flooring option most homeowners prefer. We have been using wood for years due to its beauty and integrity. However, it requires regular maintenance to keep its shine and beauty intact.
Floor sanding is one of the most common ways to refinish wood floors. But, there’s a fine line between just the right amount of sanding and over-sanding, which can lead to unwanted damage and uneven surfaces.
In this blog, we will discuss the problems of over-sanding wood floors, signs to identify them, and tips to fix uneven floors.
The Hazards of Over-Sanding Wood Floors
When carried out correctly, floor sanding Melbourne is a fantastic way to remove imperfections and prepare wood for finishing. However, over-sanding can lead to several problems, including the wood’s inability to absorb stains and finishes properly.
Sanding wood beyond 240 grit sandpaper can result in the dust filling the pores of the wood, essentially blocking them and preventing the uptake of any stain or finish.
Moreover, over-sanding a singular area can create divots, leading to an uneven surface. These issues not only compromise the aesthetic appeal of your wood floors but can also impact their durability and longevity.
Identifying the Signs of Over-Sanded Wood
Recognising over-sanded wood is essential for proper restoration. Signs include noticeable unevenness compared to nearby areas, especially if one spot looks lighter or smoother. If the wood doesn’t absorb stain or finish as expected, or if the finish looks inconsistent, it’s a clear indication of over-sanding.
These signs might show up right after sanding or when you try to stain or finish the wood. Spotting them early helps to prevent more damage and indicates that you need to take specific steps to fix your wood floors properly.

Steps to Fix Uneven Wood Floors
If you have found any of the above signs on your floors, don’t freak out! They can be reversed, and your floors can regain their old shine.
You just need to follow these easy steps to fix uneven sanding:
Lightly Shading the Problem Area
To begin fixing an over-sanded spot, start by lightly shading it and its surrounding area with a pencil. This step allows you to visually track your progress, helping you to sand the rest of the wood down to a uniform level with the over-sanded area.
Be cautious not to press too hard when shading, as this can further dent softwoods and complicate the correction process.
Choosing the Right Grit Sandpaper for Levelling
Selecting the correct grit of sandpaper is crucial for effectively levelling the wood without causing further damage. Lower grit sandpapers will remove material faster but require subsequent sanding with higher grits to eliminate coarse scratches.
Conversely, higher grit sandpapers take longer to even out the surface but minimise the need for additional sanding. The depth of the over-sanded area should determine your grit choice; deeper gouges necessitate starting with a coarser grit.
Sanding Techniques to Achieve a Level Surface
Use consistent sanding techniques to flatten the over-sanded area without focusing excessive pressure or time on any single spot.
Sand in a controlled manner until all pencil marks have vanished, indicating that the wood surface has become level. It’s important to sand evenly across the entire area to avoid creating new uneven spots.
Stopping at the Right Grit to Prevent Further Damage
To minimise the risk of re-clogging the wood’s pores with fine dust, it’s advisable to conclude the sanding process at 180 grit. Progress through the grits in a calculated manner (e.g., 80, 120, 150, 180), using the pencil line trick at each stage to confirm sufficient sanding.
This disciplined approach avoids the pitfalls of over-sanding and prepares the wood adequately for staining and finishing, ensuring optimal absorption and a beautiful final appearance.
Erasing Sanding Marks for a Smooth Finish
If you began the levelling process with a low grit sandpaper, it’s necessary to incrementally move to higher grits (e.g., 80, 120, 150, 180) to erase marks left by coarser grains. Employing the pencil technique—a light scribble before each sanding round—ensures you sand just enough to remove marks without over-sanding.
Avoid progressing beyond 180 grit to prevent clogging the wood’s pores with fine dust, which can impair the application of stains or finishes.
Preparing for Stain and Finish Application
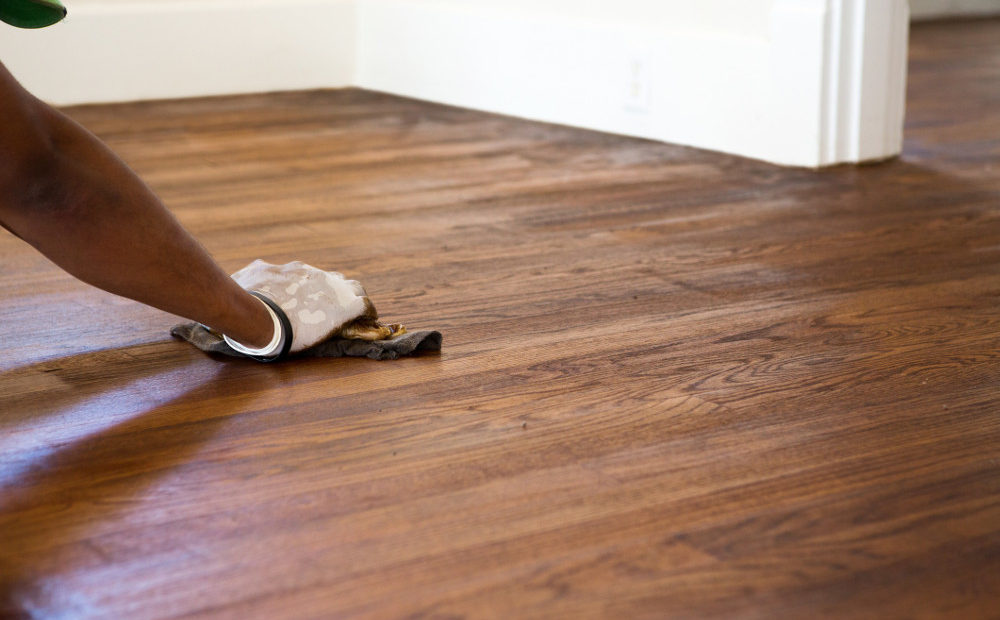
Before applying stain or finish, the wood must be thoroughly prepared to ensure optimal absorption and adhesion. After the final sanding pass with 180 grit sandpaper, remove all dust from the surface. This can be done using a vacuum cleaner followed by a tack cloth to pick up any remaining fine particles.
Ensuring the wood is clean and free of dust is critical; even small amounts of residual dust can prevent the stain and finish from soaking into the wood evenly, potentially leading to a blotchy appearance. Once the wood is clean and smooth, it’s ready for the application of stain and finish, marking the final step in restoring the beauty of your wood floors.
Over-sanding wood floors can lead to an uneven appearance and affect the wood’s ability to properly absorb stains and finishes. This common mistake can happen to anyone, from DIYers to woodworking professionals. But fortunately, this isn’t an irreversible mistake. By following the detailed steps outlined in this blog, you can restore the beauty and integrity of your wood floors.
Adhere to these steps, and you can avoid further damage and ensure a smooth, professional-looking finish. Remember, the key to fixing over-sanded wood is patience and attention to detail. Whether you’ve sanded too much in one spot or clogged the pores of the wood with fine sawdust, taking the time to carefully correct your sanding mistakes will pay off.
If you have an extremely uneven floor surface, it’s better to consult a floor sanding Melbourne professional to ensure the best results. For that, you can trust Timber Floor Sanding Melbourne, as we have been the leaders in the floor sanding and polishing industry for years. Our sanding experts use the most advanced techniques and tools to ensure even floor surfaces and the best finishes. Get in touch with us today and
