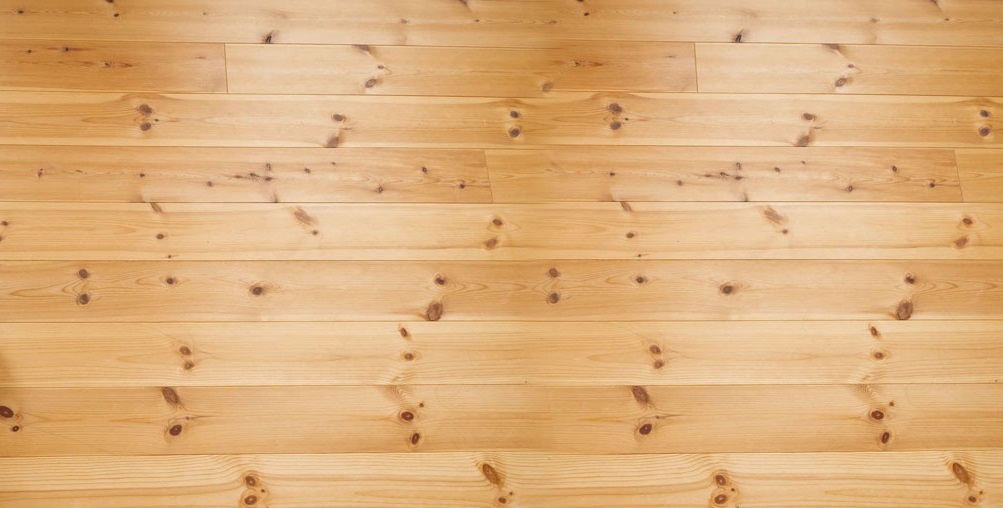
Floorboards are a popular choice for many homeowners due to their durability, timeless charm, and natural beauty. But, over time, floorboards can develop gaps, which not only affect the aesthetics of the flooring but also compromise the integrity of the structure. Before embarking on a floor sanding Melbourne project, it is crucial to fill these gaps to achieve a smooth and flawless finish.
In this blog post, we will provide you with a comprehensive guideline on how to fill gaps in floorboards before sanding, ensuring a professional-quality result.
Understanding the Importance of Filling Gaps
When it comes to floorboards, filling gaps is more than just an aesthetic choice. It plays a vital role in ensuring the longevity of your floor. Gaps can trap dirt, debris, and moisture, leading to potential damage over time. Additionally, unfilled gaps can compromise the stability of the floor, causing it to creak or feel uneven underfoot. By filling these gaps before floor sanding Melbourne project, you not only create a smooth surface but also prevent further issues down the line.
Gathering the Necessary Tools and Materials
Before you begin filling the gaps, it’s essential to gather the right tools and materials. Here’s a list to help you get started on how to fill gaps in timber floorboards:
1. Filler material: Depending on the size and type of gap, you can choose from options such as wood putty, epoxy resin, or latex-based fillers. Consider the colour and texture of your floorboards when selecting the appropriate filler material.
2. Putty knife or scraper: This tool will help you apply the filler material into the gaps smoothly and evenly. Ensure that the width of the putty knife matches the size of the gaps you are working with.
3. Sandpaper: You will need sandpaper with varying grits to sand down the filled gaps and achieve a level surface. Start with a coarse grit (around 60-80) and gradually move to finer grits (120-220) for a polished finish.
4. Vacuum cleaner: Having a vacuum cleaner on hand will make it easier to remove any dust or debris from the gaps before filling them.
5. Cleaning supplies: Before filling the gaps, make sure you have a clean and dry surface. Prepare some mild soap, water, and a clean cloth or mop for cleaning the floorboards.
Preparing the Floorboard Gaps for Filling
To achieve the best results, it’s important to inspect the gaps and identify their size. This will help you determine the appropriate filler material and application technique. Start by cleaning the gaps thoroughly to remove any dirt or loose debris. You can use a vacuum cleaner or a brush to ensure a clean surface.
Next, assess the underlying issues, if any, that may have caused the gaps. Check for any loose or damaged floorboards that may need to be repaired or replaced before filling the gaps. Addressing these issues beforehand will ensure a solid foundation for the filler material.
Choosing the Appropriate Filler Material
The choice of filler material depends on various factors, including the size of the gap, the type of wood, and personal preferences. Here are a few options to consider:
1. Wood putty: Ideal for small to medium-sized gaps, wood putty is available in different colours to match your floorboards. It’s easy to work with and provides a seamless finish when sanded.
2. Epoxy resin: If you’re dealing with larger gaps or gaps in high-traffic areas, epoxy resin is a durable and long-lasting option. It’s available in different viscosities, allowing you to choose the one that best suits your needs.
3. Latex-based fillers: These fillers are flexible and great for gaps that may expand or contract due to temperature and humidity changes. They are easy to apply and can be sanded and painted over.
Consider the specific requirements of your floor and choose a filler material that suits your needs.

Applying the Filler to Fill Gaps
Now that you have identified the gaps and chosen the appropriate filler material, it’s time to fill them. Follow these step-by-step instructions for a seamless finish:
1. Using a putty knife or scraper, apply the filler material into the gaps, ensuring it is level with the floorboards.
2. Work the filler material into the gaps, pressing it firmly to eliminate any air pockets.
3. Scrape off any excess filler using the putty knife, making sure the filler is flush with the surrounding floorboards.
4. Allow the filler to dry according to the manufacturer’s instructions. This may take a few hours or overnight, depending on the filler material used.
Sanding After Filling Gaps
Once the filler has fully dried, it’s time to sand the floorboards and the filled gaps to achieve a smooth and level surface. Start with coarse grit sandpaper (around 60-80) and sand the filled gaps in a circular motion. Gradually switch to finer grits (120-220) to achieve a polished finish.
Be careful not to oversand the filled areas, as this can create unevenness.
Finishing Touches: Staining or Painting
After sanding floorboards, you have the option to stain or paint them to enhance their appearance. Staining can add warmth and depth to the wood, while painting allows you to customise the look of your floor. Before applying any stain or paint, ensure that the floorboards are clean and free from dust.
Choose a stain or paint that is compatible with your floorboards and follow the manufacturer’s instructions for application. Apply the stain or paint evenly and allow it to dry completely before applying any sealant or protective coating.
Maintenance Tips for Long-lasting Results
To keep your filled floorboard gaps looking their best, it’s important to follow some maintenance tips:
1. Clean regularly: Sweep or vacuum your floor regularly to remove dirt, dust, and debris that can accumulate in the gaps.
2. Avoid excessive moisture: Wipe up spills immediately to prevent moisture from seeping into the gaps and causing damage.
3. Periodic inspections: Inspect your floorboards periodically for any signs of wear or new gaps. Address any issues promptly to prevent further damage.
4. Touch-ups: If you notice any cracks or gaps developing over time, touch them up with the appropriate filler material. This will help maintain the seamless appearance of your floor.
Filling gaps in floorboards is an essential step before floor sanding Melbourne to achieve a professional and polished finish. By following the steps outlined in this blog post, you can ensure that your floorboards look flawless and last for years to come. Remember to gather the necessary tools and materials, prepare the gaps properly, choose the appropriate filler, and apply it carefully.
Sanding and finishing touches like staining or painting can further enhance the aesthetics of your floor. With regular maintenance, your filled floorboard gaps will withstand the test of time.
If you find yourself short on time or simply prefer a hassle-free solution, hand over your floorboard gap filling and sanding floorboard needs to the professionals at Timber Floor Sanding Melbourne.
Our skilled experts ensure meticulous preparation, precise application, and a flawless finish, saving you time and guaranteeing long-lasting, impeccable results for your floors.
